My dumb e-bike
I use my DIY e-bike for getting around. The current iteration looks like this:

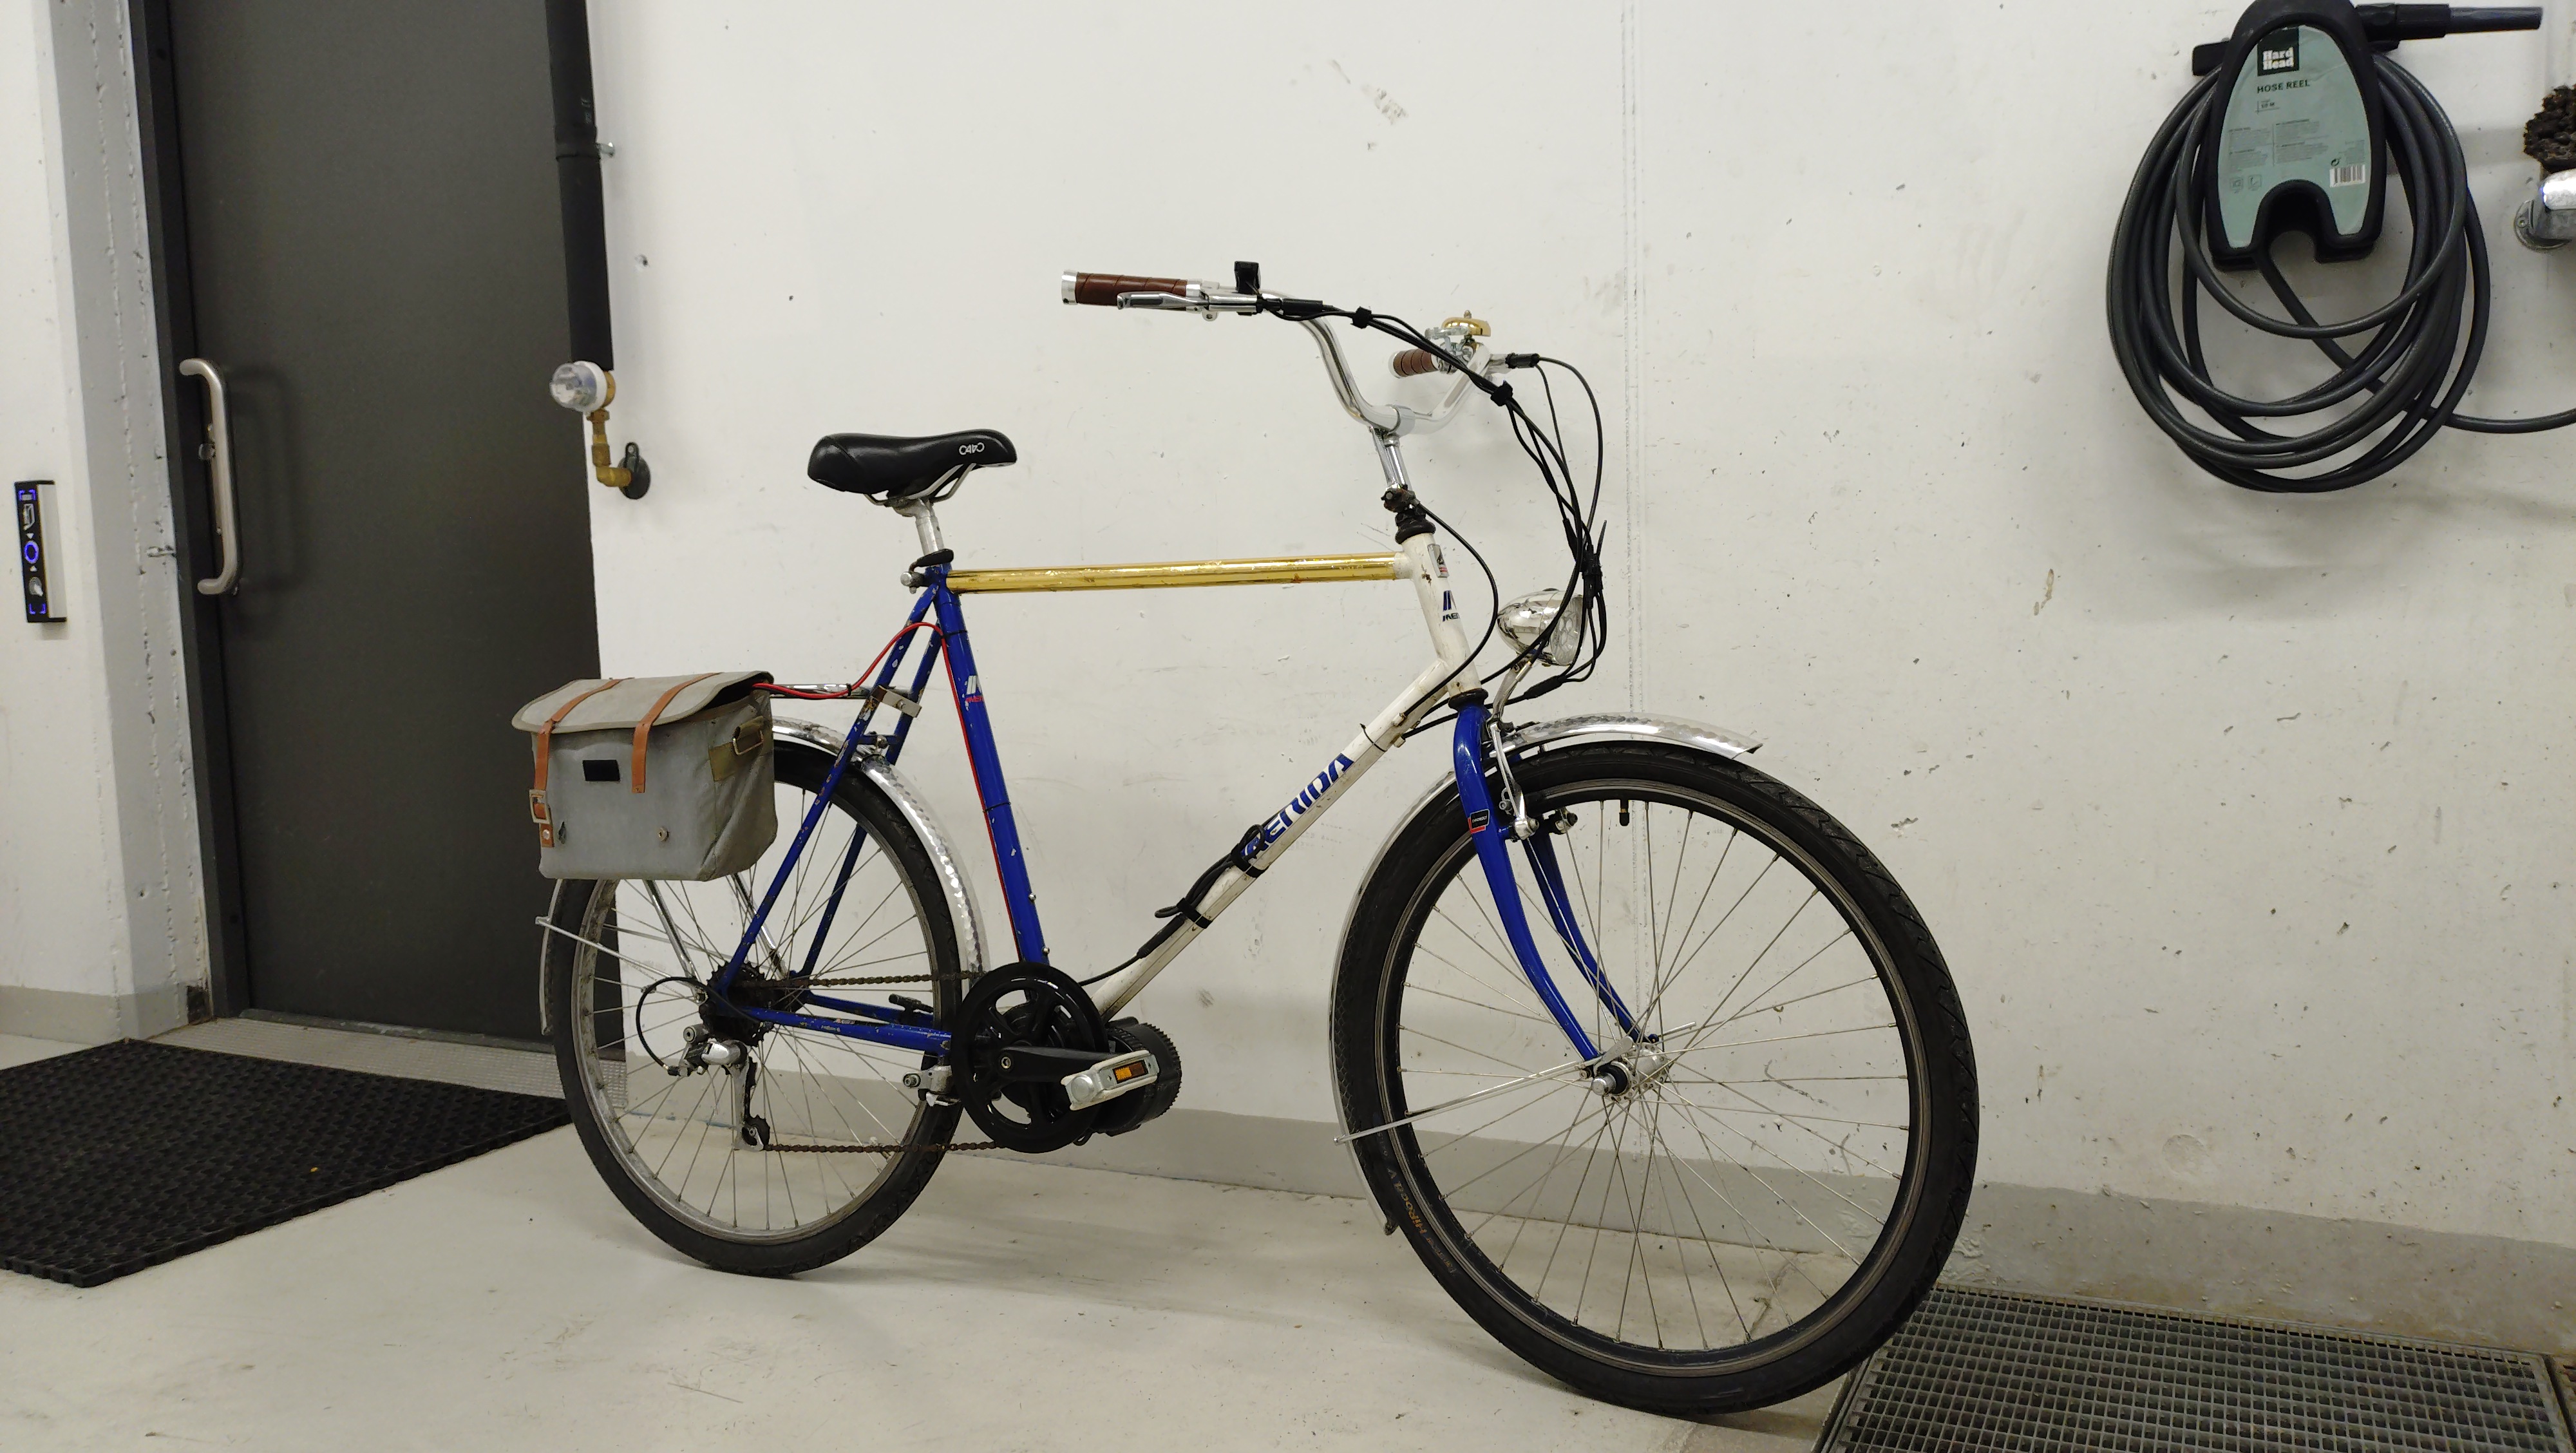
I call this my "Dumb" e-bike because it is both a result of a lot of dumb decisions and mistakes (and lessons learned!), but also because it is the opposite of smart. There is no cloud service, required app or vendor lock-in. A lot of modern e-bikes become e-waste the second the manufacturer goes bankrupt. Others require proprietary parts or authorized dealers to repair. Not mine!
How it began
During the early days of the Covid-19 lockdowns I started the project of building my own e-bike. I don't really remember why or how that got started, but pretty quickly the idea of a vintage/retro bike converted to a stealth e-bike took root. I wanted it to not really look like an e-bike. Having done very little bike mechanics myself up to that point, I knew next to nothing about a lot of things. Since then I have learnt a lot, both about DIY e-bikes and bike mechanics in general.
The first attempt
I scoured finn.no and happened on a conversion kit with everything needed, sans battery. Most importantly, it did not have a display, which would help with the stealth aspect. Jumping the gun without any planning, I bought the kit. While waiting for it to arrive, I spent my time browsing for a suitable bike to convert, as well as looking at similar projects on reddit and youtube. One in particular stood out, and I wanted to create something similar. Reddit user PetyaLB's "Thaxted":

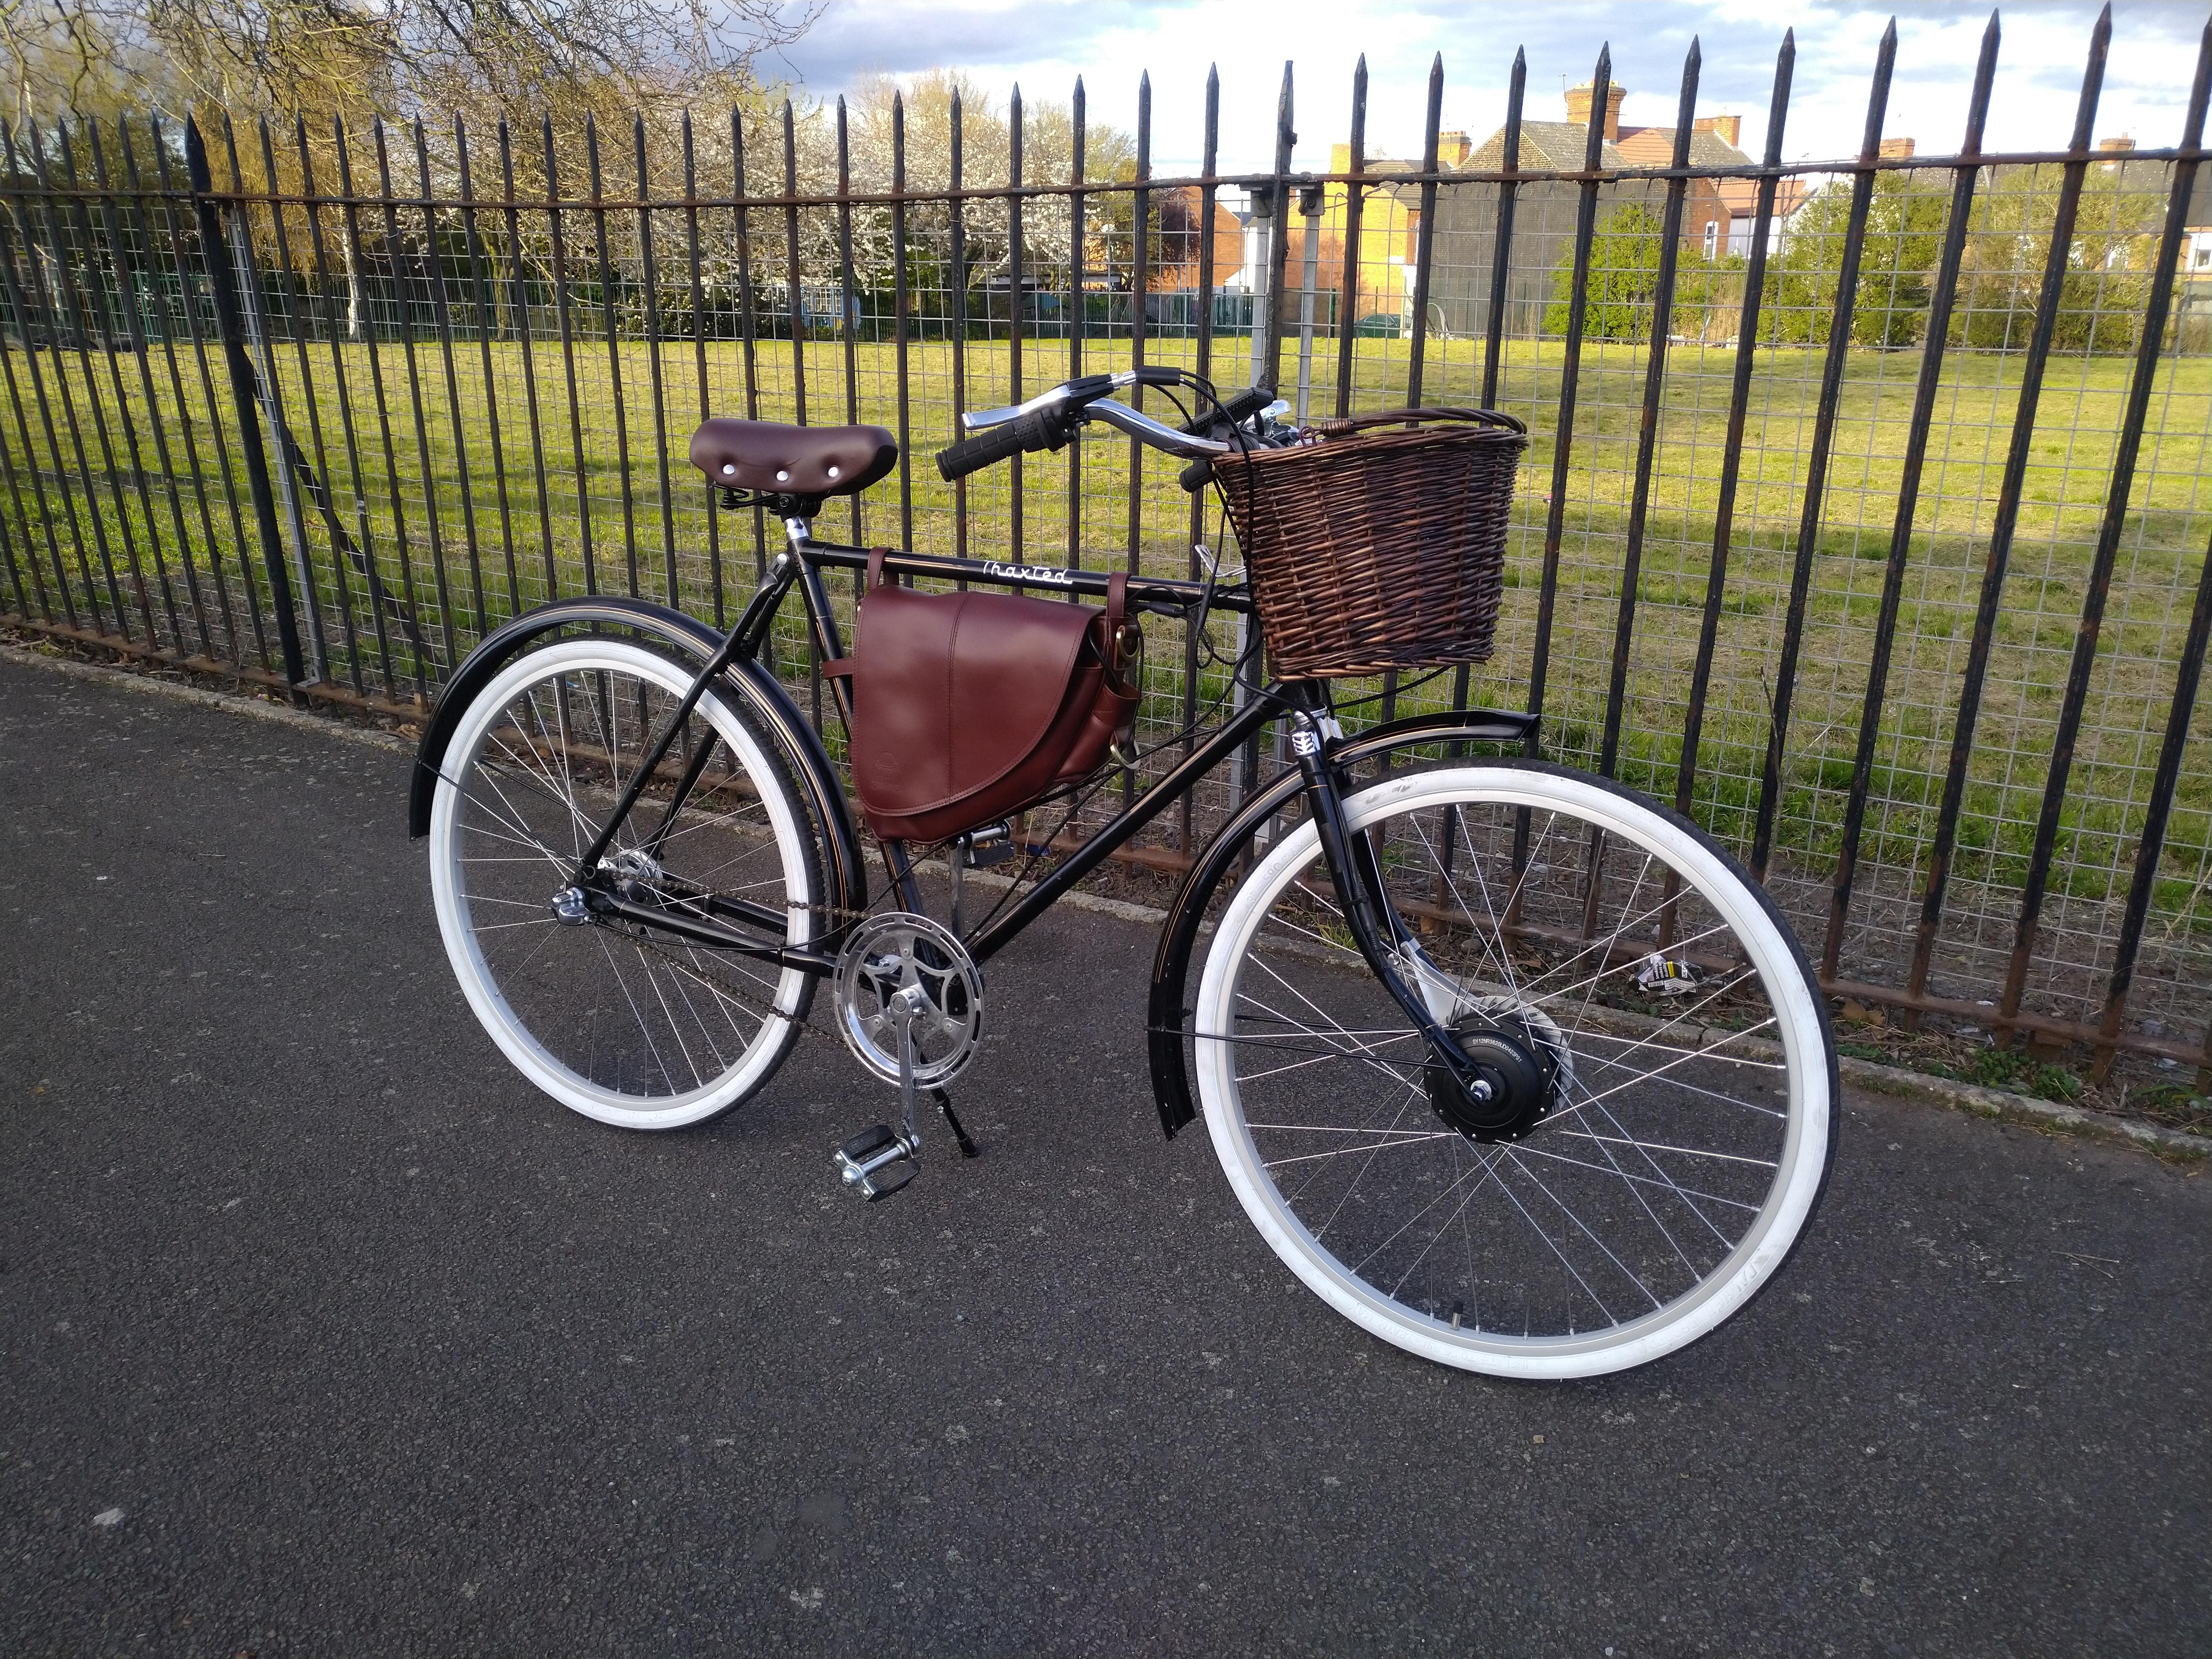
But after a while I realized I had made a slightly stupid mistake, and the first of many! The kit I bought had a 26" wheel. And while 26" wheels are pretty common, they are first and foremost used on a lot of "offroad" and "hybrid" bikes. So that limited my options quite a bit. After a while I found a listing of a DBS Golden Flash. A bike that was very popular in the 70's. The listing said it had 26" wheels (foreshadowing...). While not very similar to the Thaxted-bike, I liked the orange metallic color and thought it would work well. So I bought it, and had it shipped to Trondheim. I didn't take any good pictures of it, so here is a random one I found:

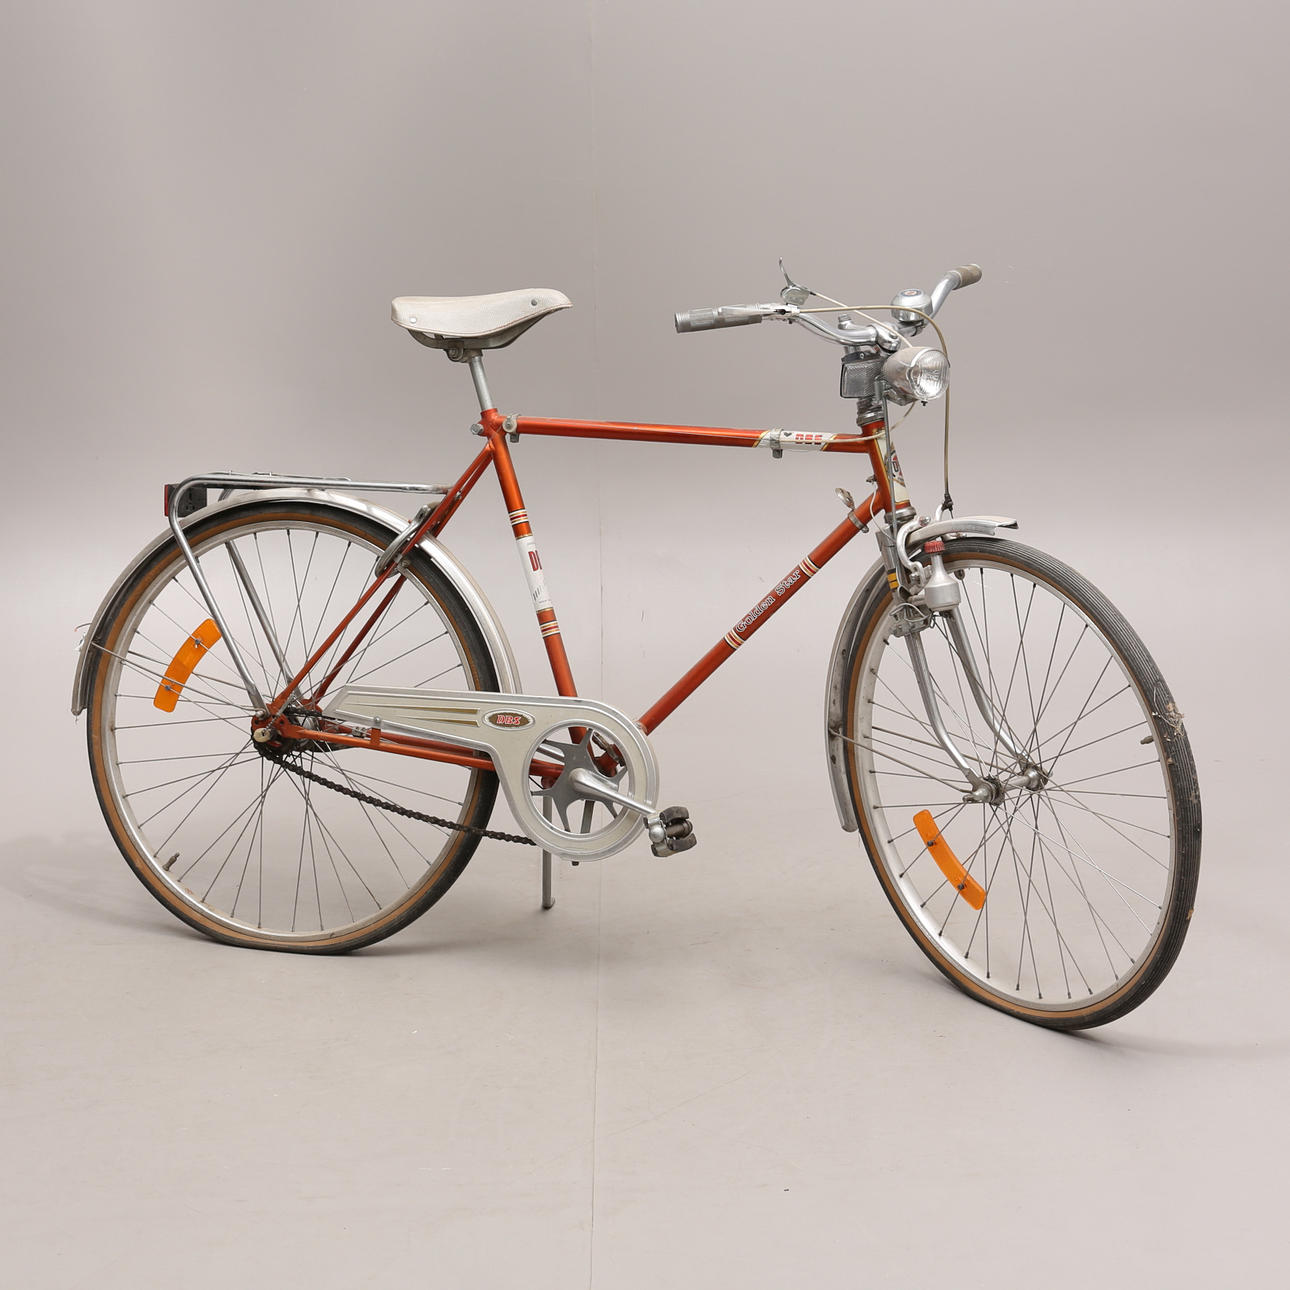
After the bike arrived I quickly realized I had made my second mistake. Turns out bike wheel sizes are ... complicated, and 26" can refer to a lot of things. So while the motorized wheel I now had could technically fit, the rim diameter would be slightly smaller than the original wheels, meaning the brake calipers would not be able to reach the braking surface of the rim. After googling and reading a lot, I found out that there exists adapters that can effectively "move" the brake posts (the parts of the frame where typical bike brakes are attached). Unfortunately for me, this bike had a caliper brake mounted on a brake bridge between the seat stays. So my only option was a brake caliper with a longer reach. But one of those would have had less braking force, not a good option for an ebike! So after a lot of back and forth, I ended up looking for another used bike to convert.
The first iteration
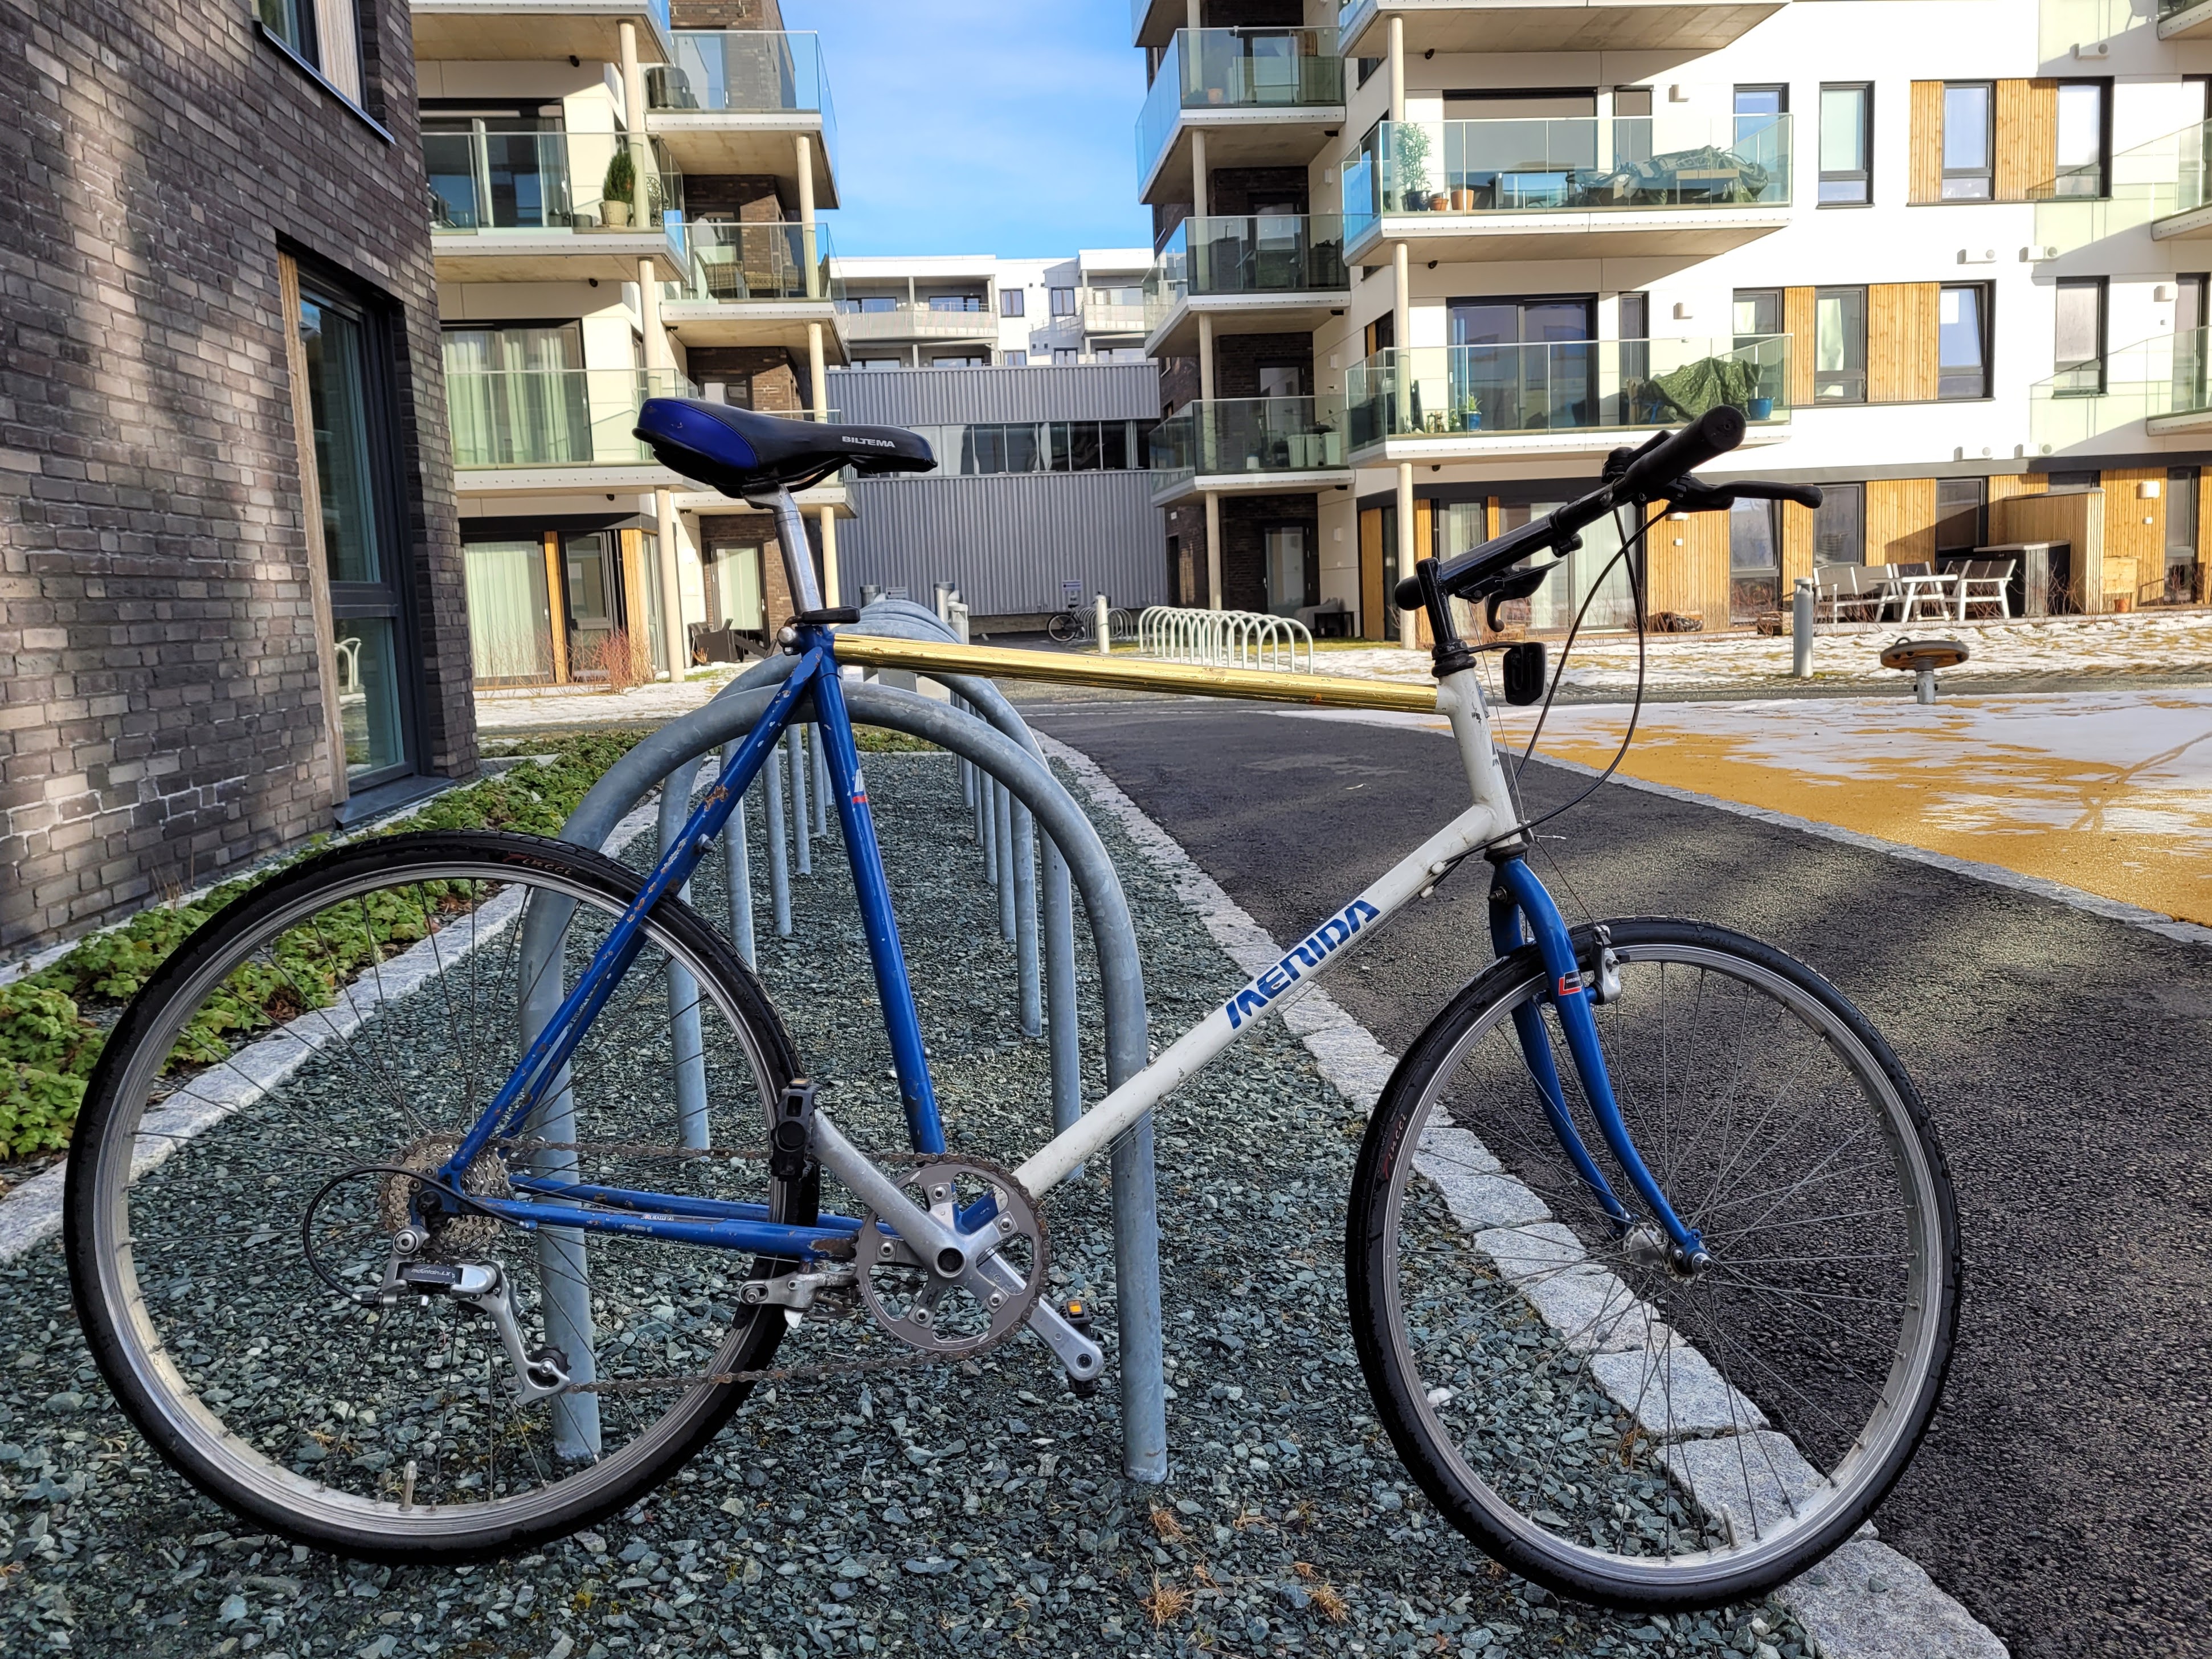
I still wanted a "classical" looking bike, meaning no suspension, a frame with a horizontal top tube and slim, round tubes of steel, no bulky aluminum! I found a bike going for 200 NOK. An old 80's mountain bike from Merida. While more modern than the DBS, the shape of the frame looked about right, and it had 26" wheels. It was very well used, had a lot of problems with the gears and scratched paint, but seemed robust and suitable. I planned to have the frame sanded and powder coated at some time anyway, maybe in some retro-looking british racing green.

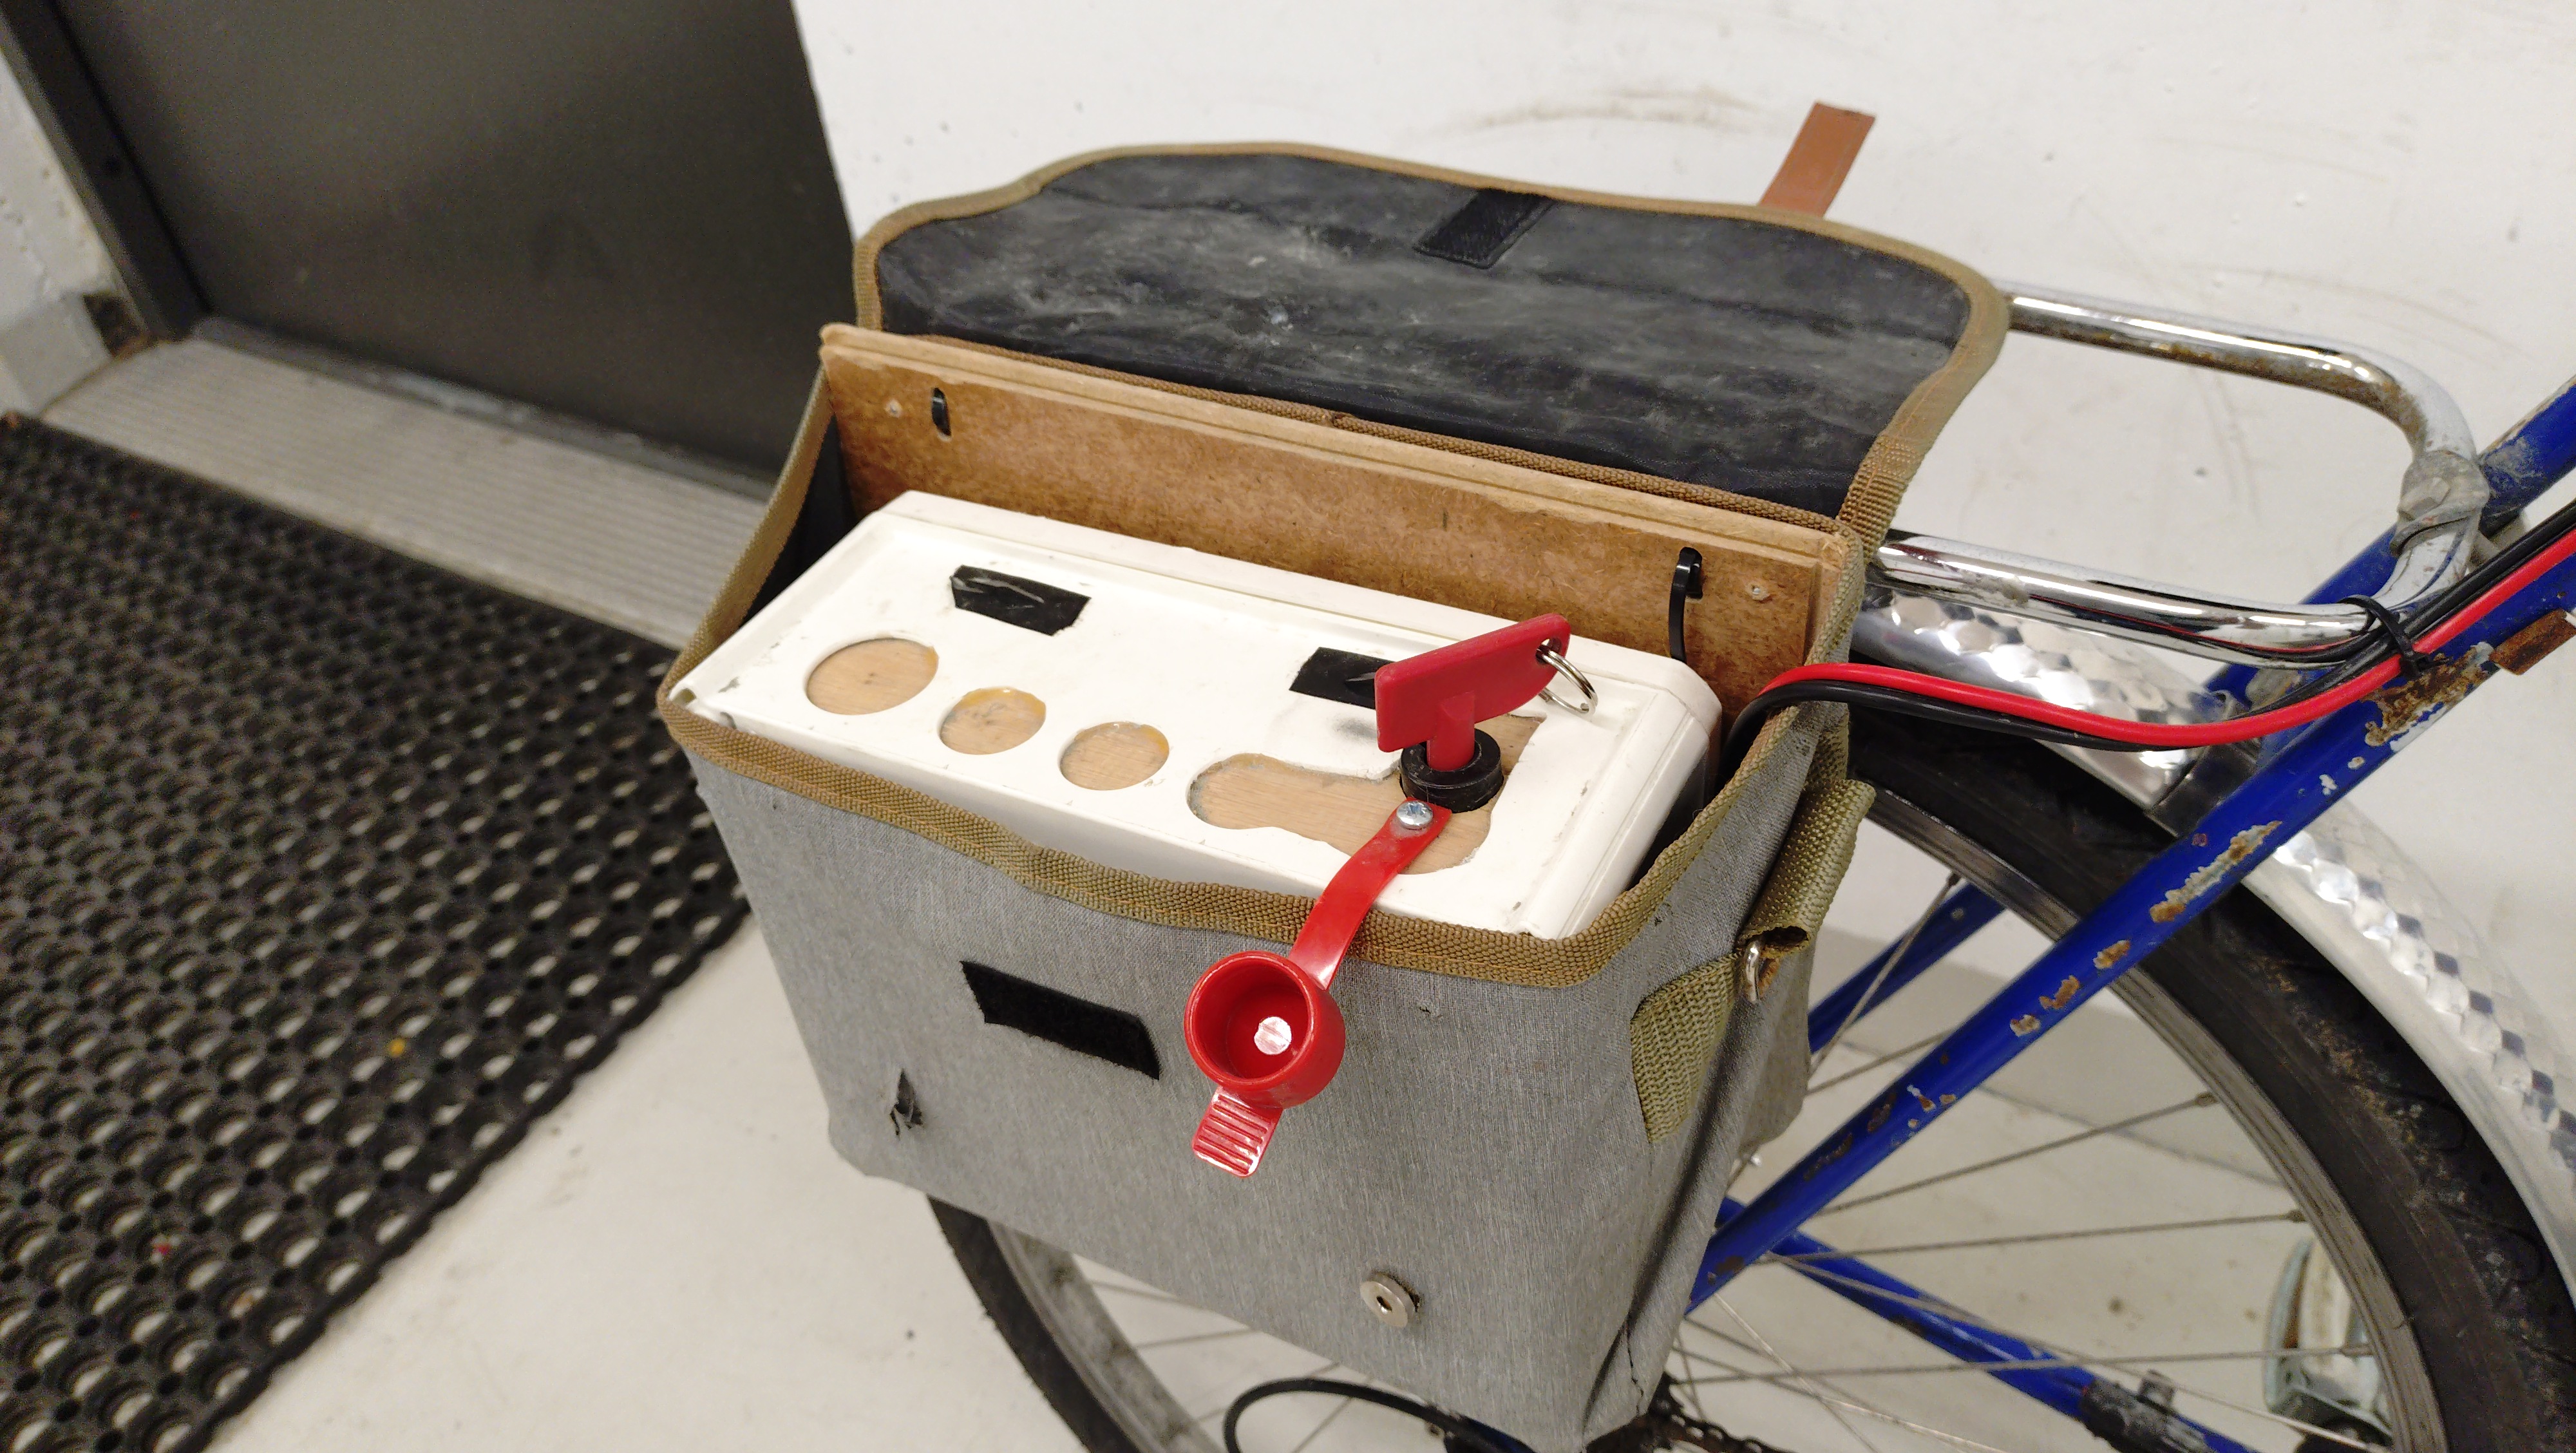
Converting the bike was easy enough, swap the wheel, attach the pedal assist sensor, run some wires. The biggest challenge was placing the battery. I ended up putting it and the motor controller in a big junction box I found. The water resistance and robust construction of the box would certainly be useful, as the battery itself is a shrink wrapped "softpack", and not the typical hard shell variant you see on store bought e-bikes. I added a power cutoff key so I can disable the bike as potential theft deterrent. I found a bike bag that fit the box perfectly and mounted it on the luggage rack. While not invisible by any stretch, it is not a dead giveaway of an e-bike.

The bike existed in this form for a year or so, before disaster struck. Something broke in the hub motor. I tried all I could to open the damn thing to see if it was repairable, but I was not able to. The outer casing was made from a cheap and soft alloy, so the tool-marks for where to apply a keyed tool became deformed. I ended up recycling (heh... ) it as metal scrap.
The second iteration
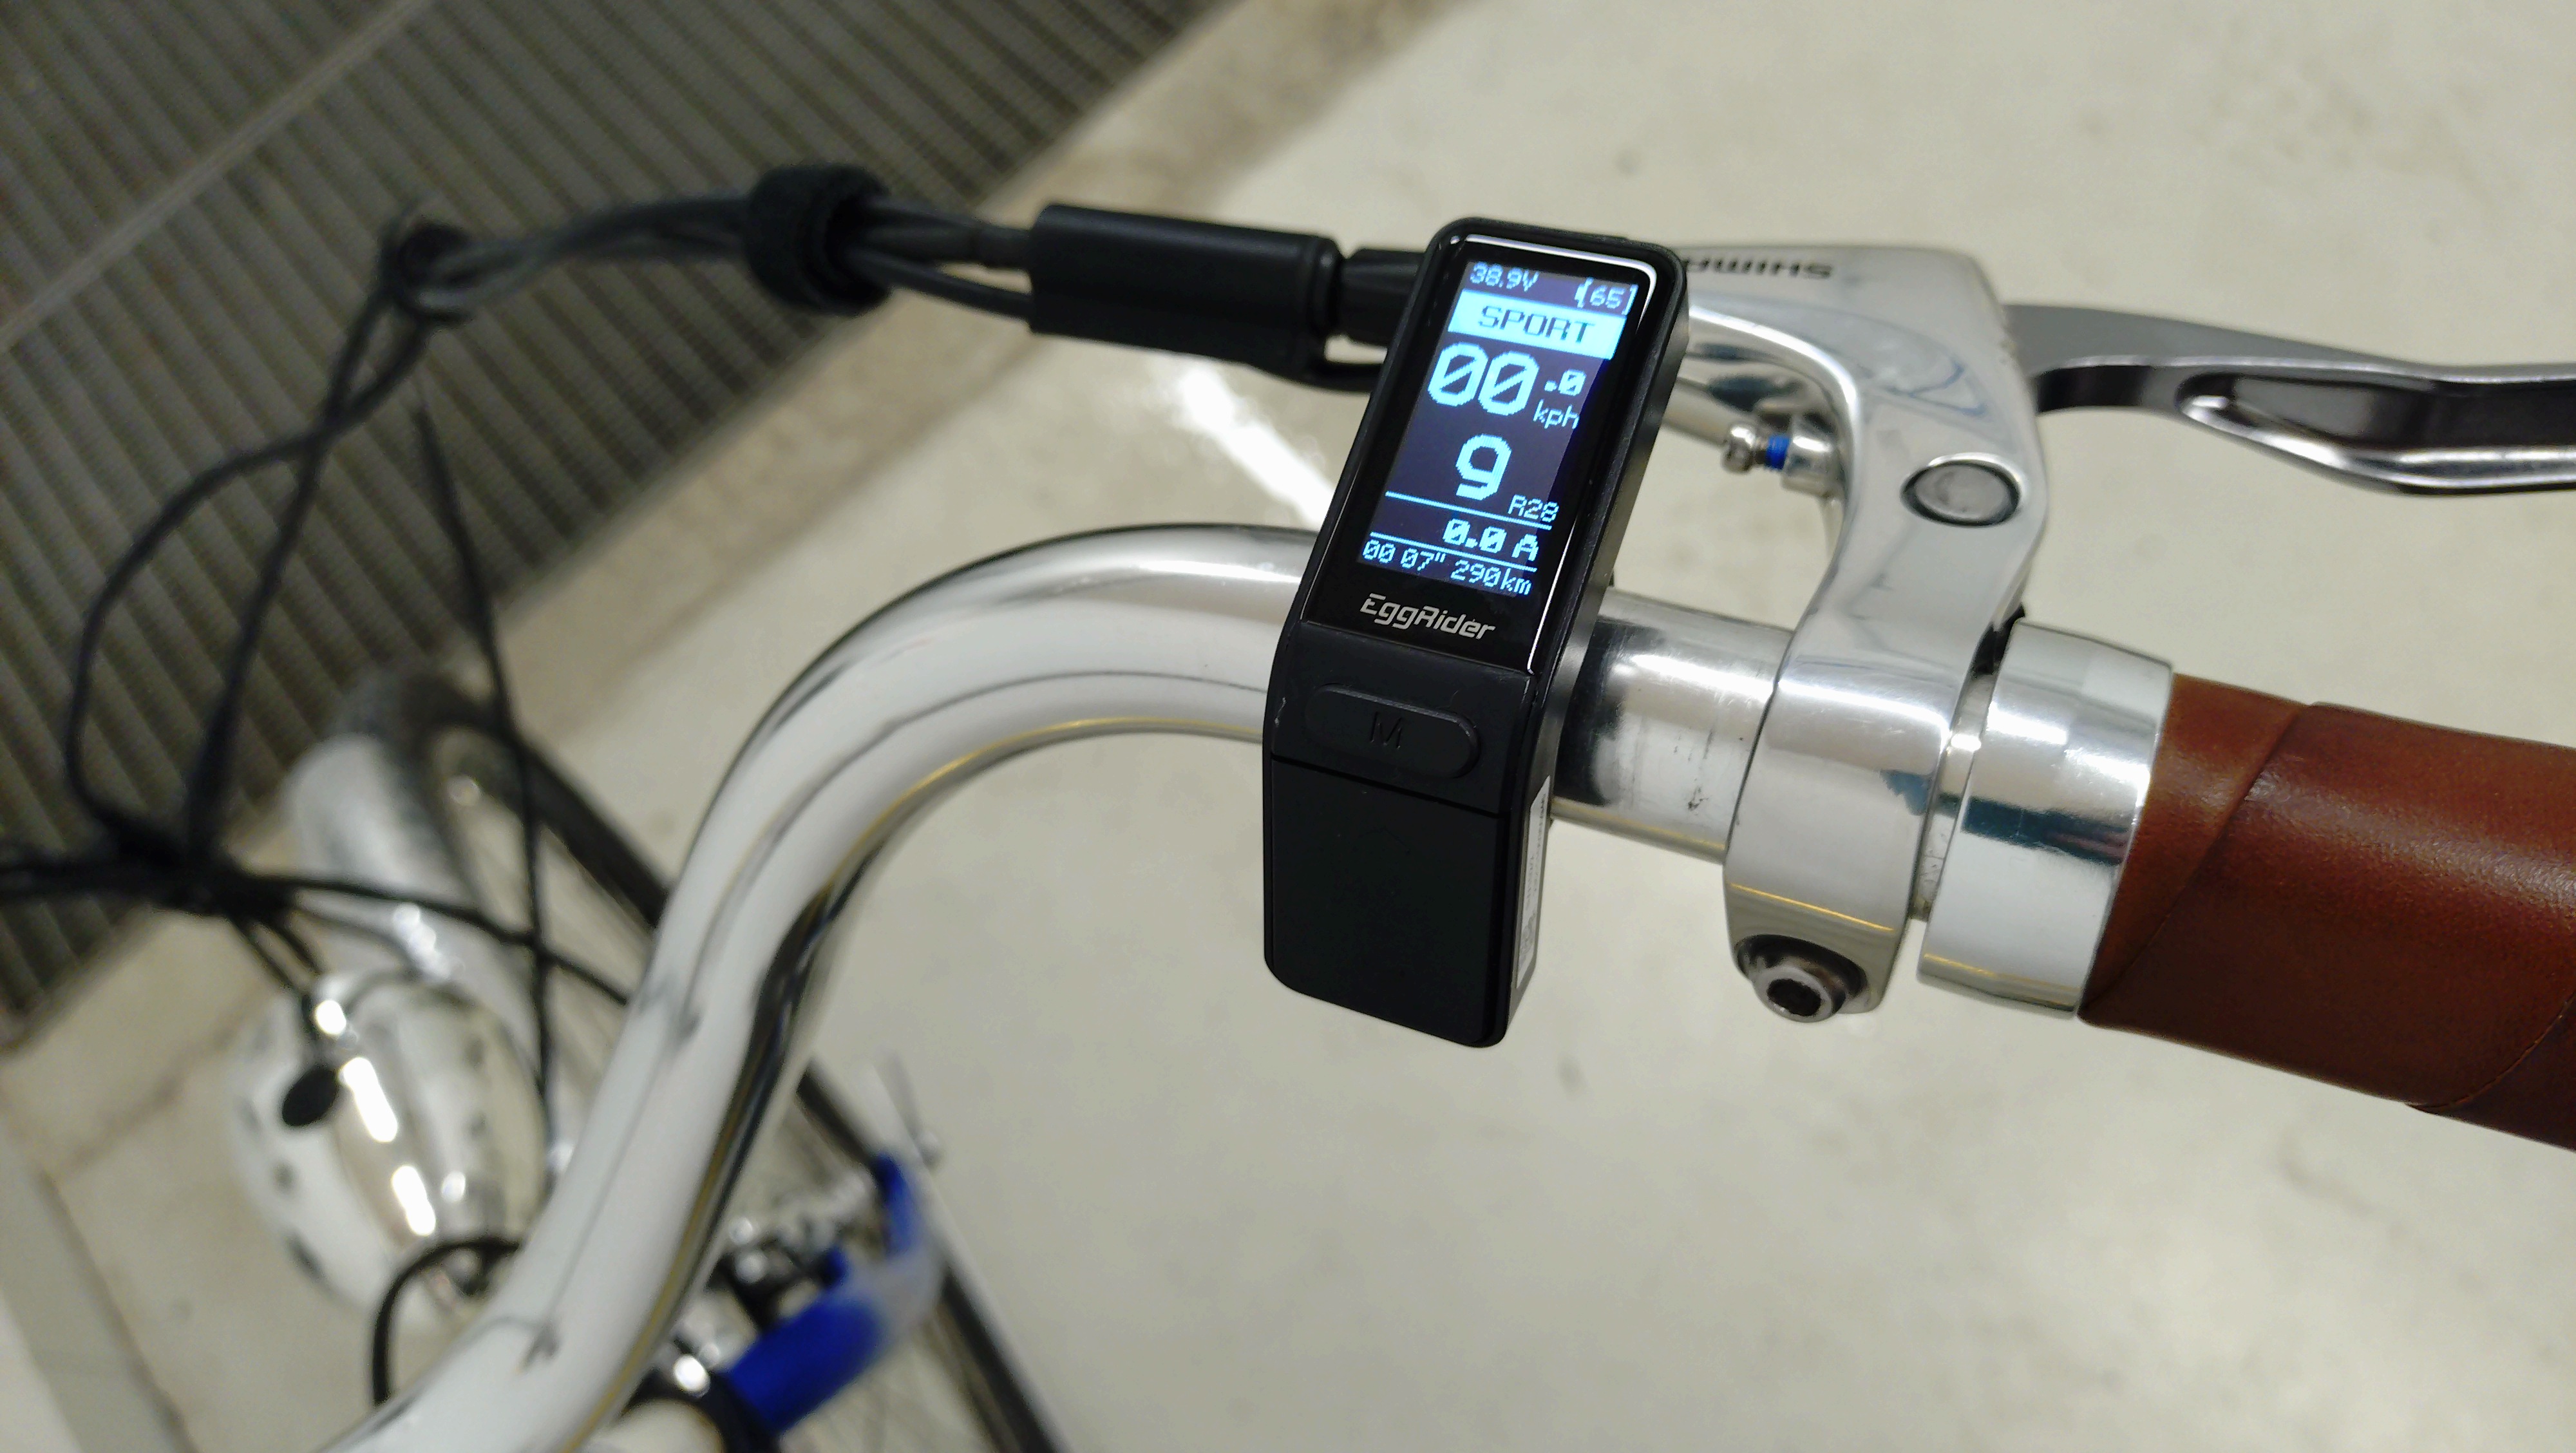
While the hub motor was the more stealthy option, it came with some caveats. Not utilizing the mechanical leverage of a gear made it really bad for climbing hills, and not having a display with controllers to adjust power settings made it a very binary experience. Forgoing some of the stealth vision, I ended up ordering a Bafang conversion kit. Bafang is one of the most popular choices for DIY e-bikes, and they have also supplied the motors for many store bought e-bikes. Keeping it road-legal in Norway, I chose the Bafang BBS01B model since it is limited to 250 watts of output. After a little bit more involved installation than the hub motor, I got it working, and it has been running fine since. The kit came with the Eggrider V2 display, the sleekest option I have seen on the market.

Some details
Some of the parts on the bike I have swapped out or added for mostly aesthetic reasons:
The cockpit
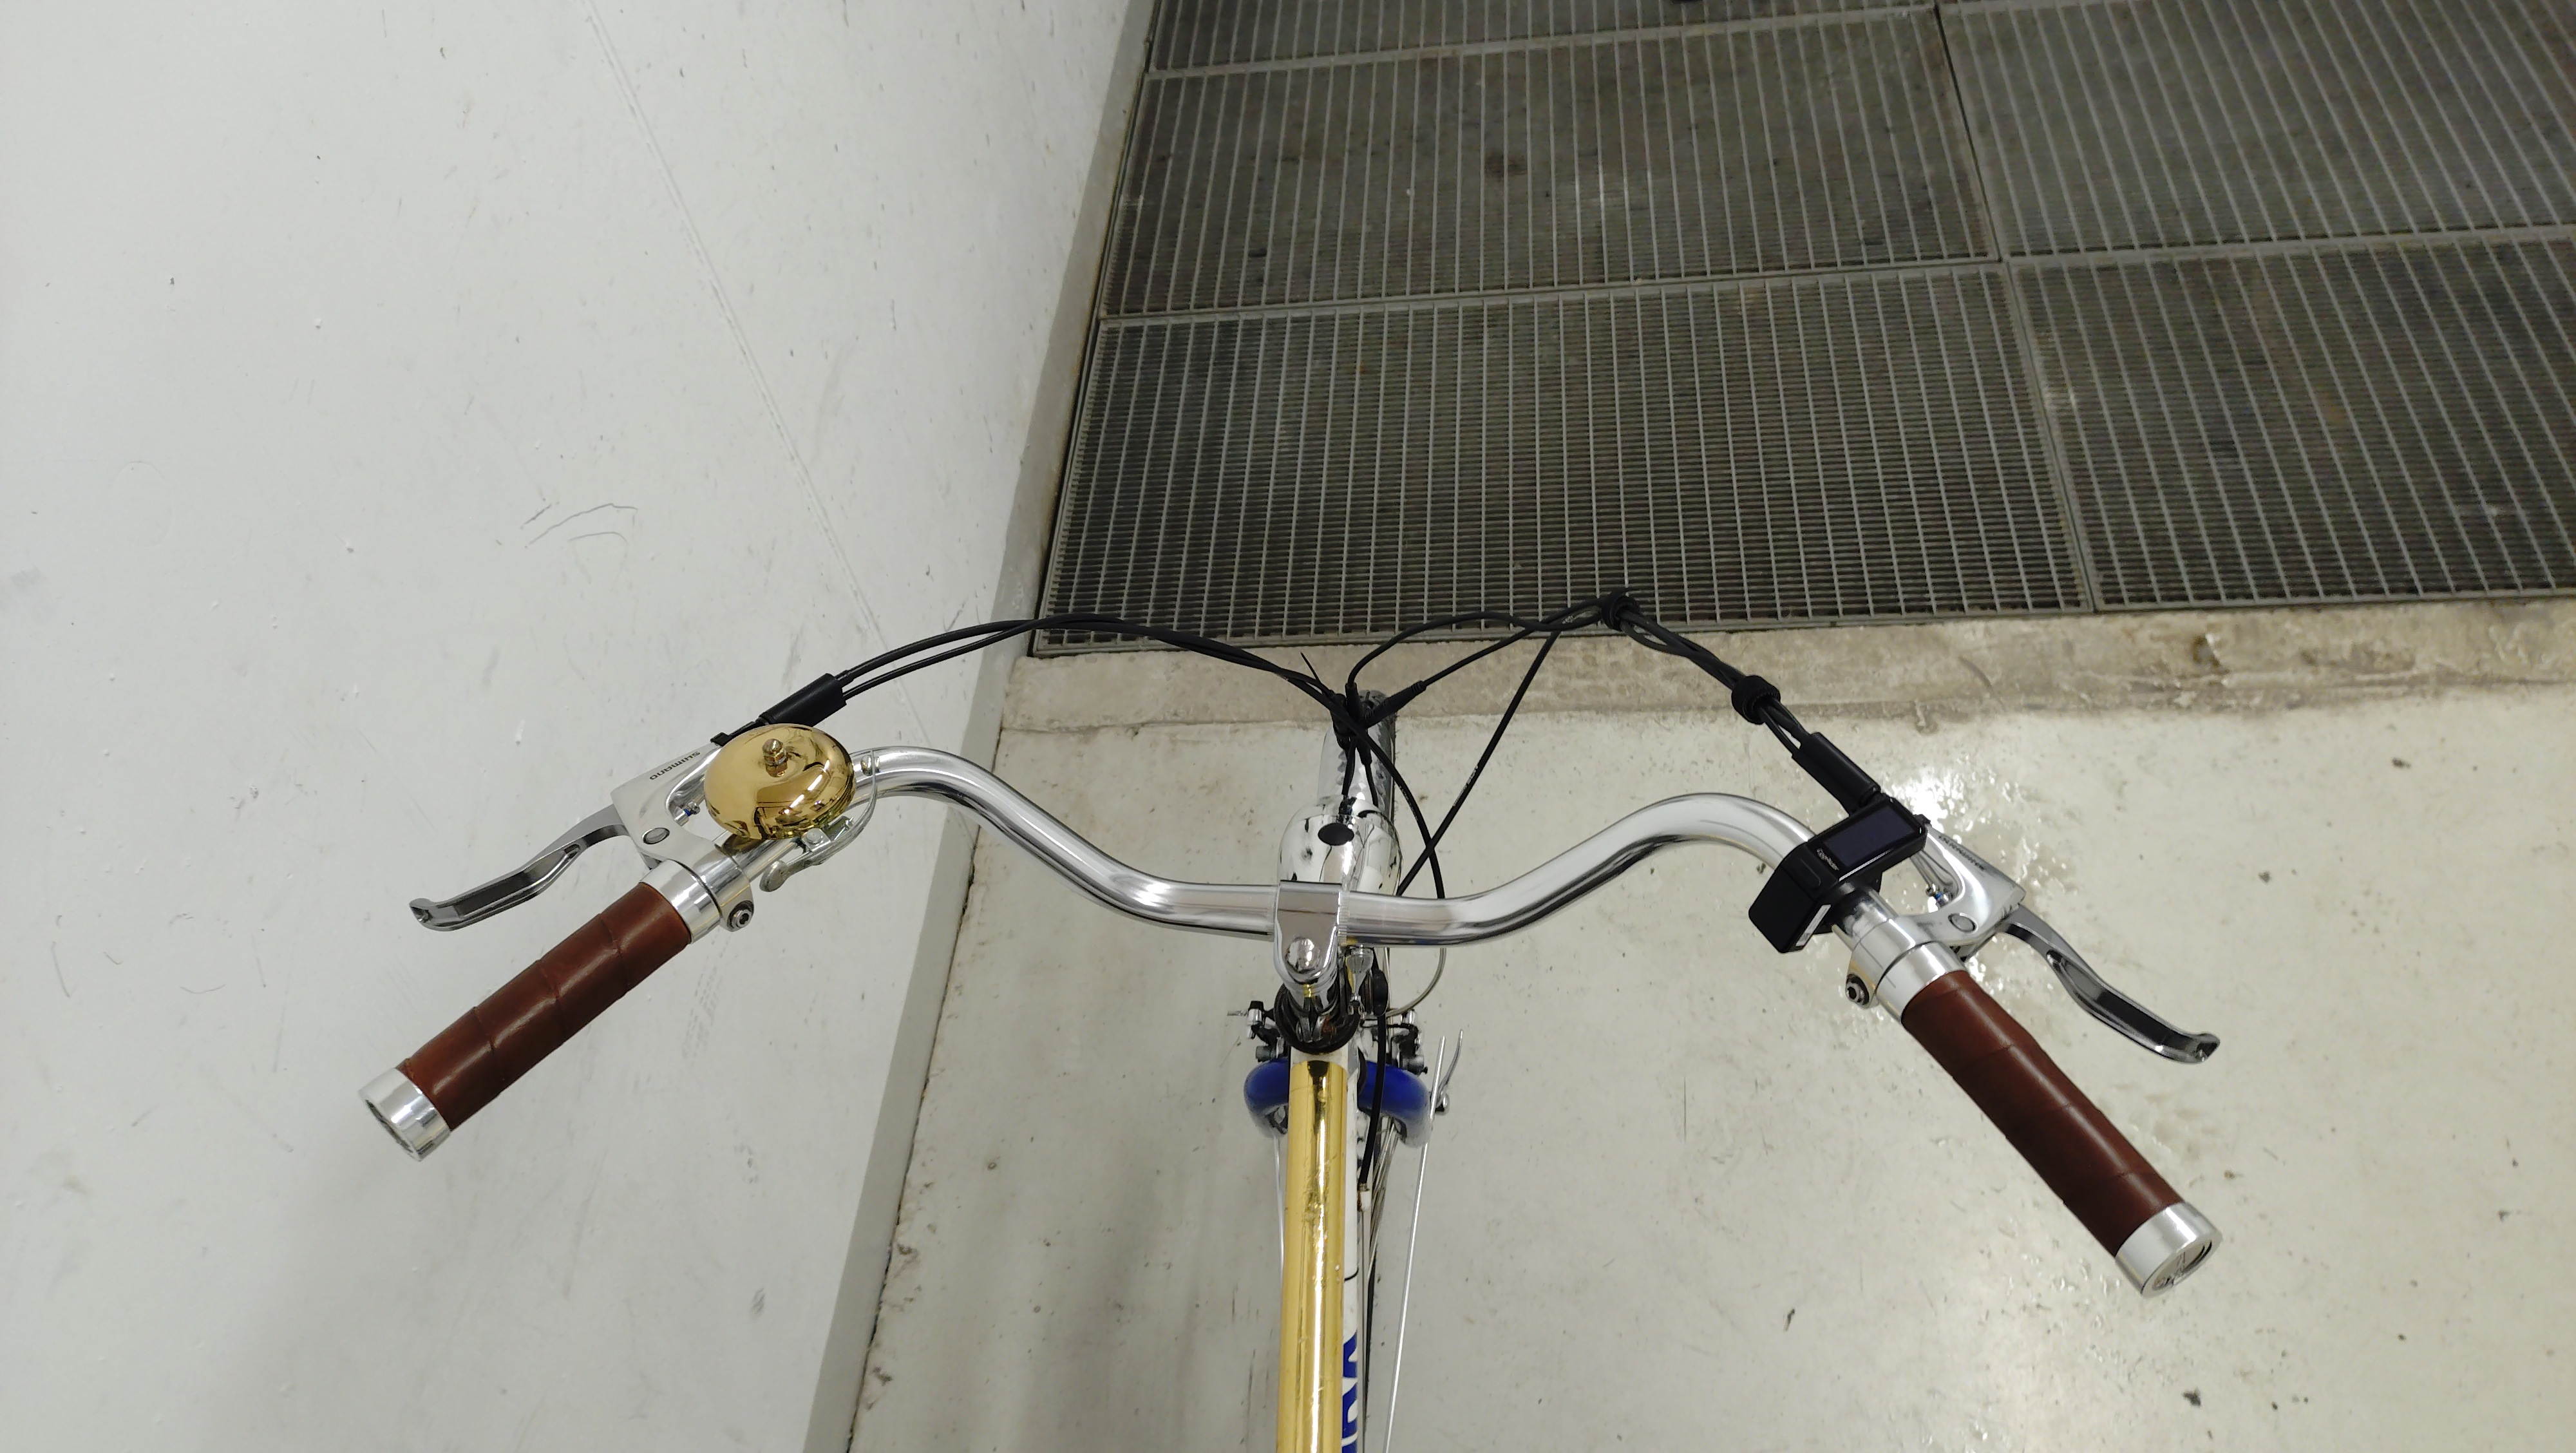
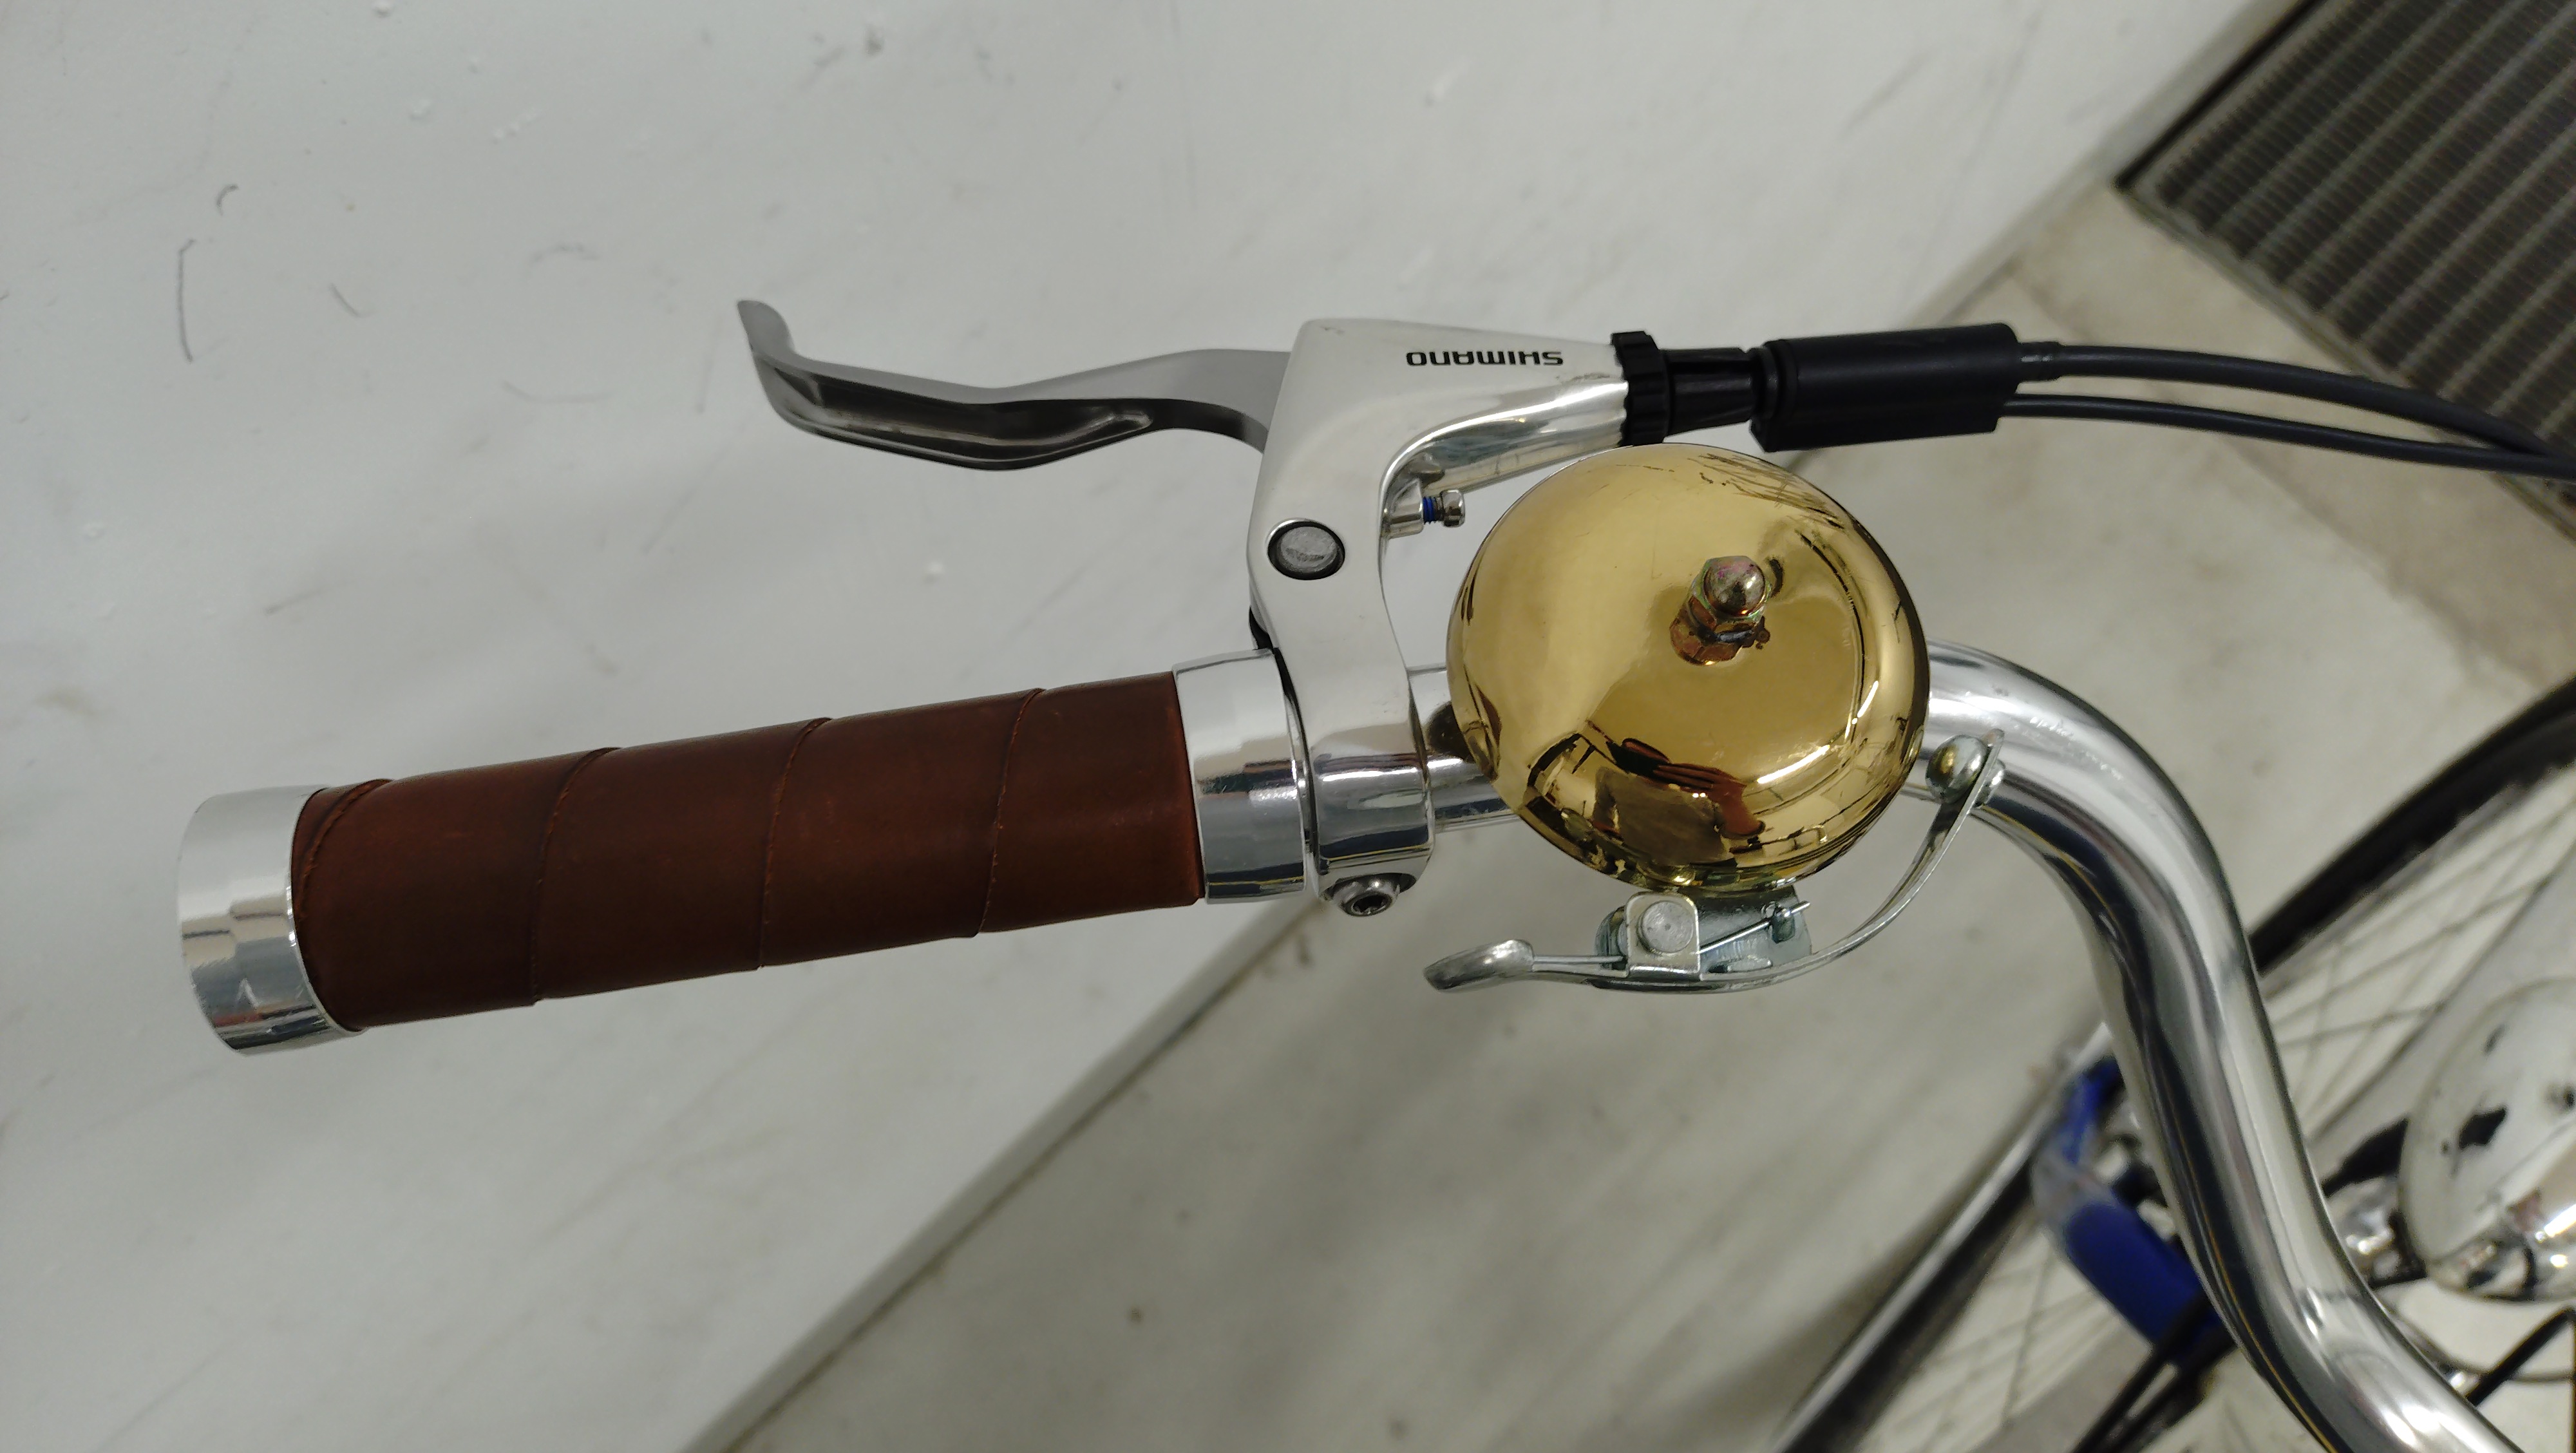
I swapped the straight mountain bike bars for some curved and raised bars in shiny silver for a more upright sitting position and a more vintage look. They were cheap from Biltema. I found a minimal old-school stem from "Humpert Ergotech" as well. The grips are Brooks' Slender Leather Grips in brown. The bell is Brass Striker Bell from Velo Orange.

Brakes and levers
The rear brake is a quirk of the 80's: a U-brake mounted under the chain stays. Not very easy to maintain or adjust, but pretty good stopping-wise. It is also not very visible. The front brake was originally a pair of cantilever-brakes in a matte silver finish. While they have some advantages, a pair of more recent V-brakes is more adjustable and less fiddly to maintain. I also wanted some brakes in shiny metal to match the rest of the parts on the handlebars. I ended up getting Tektro M 530 Silver.
I had to have some matching brake levers, and this turned out to be a bit more of a challenge than the rest. Bike brakes come in short and long pull variants. V-brakes have a greater mechanical advantage and pull more cable. U-brakes have a smaller mechanical advantage and require brake levers that pull less cable. After some research, I found out that some brake levers have a selectable pull-ratio by moving where the brake cable is attached to the lever. But I also wanted levers that matched the shiny metal finish of the rest of my setup. This narrowed the options down a lot. I almost gave up and was prepared to live with two different levers when I found the Shimano BL-R780's that worked out both mechanically and aesthetically.

Tires, Mudguards
Tires change a lot of a bike's appearance. They effectively convey the intention of the bike. Like how you can easily tell if a person is going on a mountain hike or to a nice dinner based on their shoes. The bike came with typical mountain bike tires, with a rough thread, made for gripping the surface. As this was going to be more of a city-bike riding on roads, I wanted something more sleek with less rolling resistance. As 26" is a more typical mountain bike size, the alternatives weren't many, but I found a pair of Panaracer Hi-road 26x1.50.
A classical looking bike needs mudguards, or fenders. Again, me being quick to get the original conversion kit with the 26" wheel ended up causing problems down the line. I was still stuck with 26" wheels now, even though the original motor was long gone. (I feel there is parallel applicable to software development here...) I found out that most classical looking mudguards in metal are made for 28" wheels. Mudguards for 26" wheels are mostly plastic and made for mountain bikes. Not the sleek curved type that wrap around the wheel, but short and stubby kind. Luckily, Velo Orange has a wide selection, including the 26" Snakeskin Fenders.
Further plans
While I like the bike as it is now, it is still a far bit from how I envisioned it originally. The colour scheme is not really what I want, and it turns out the geometry of a mountain bike does not really translate well to a more upright position. The 26" wheels also look kinda small on a bike trying to look like a classical vintage bike. In the future I might look for a different frame to build on. I am also playing around with the idea of trying to a build with a belt drive instead of a chain. This will also require a hub geared bike instead of a derailleur. In that case I might go for a CVT gear like one from Enviolo (formerly NuVinci). This will require a lot of work, and that will mean that the e-bike will be out of commission for a long time, so maybe I will start from scratch so I can work on one bike while having one in a rideable condition.